In this article, I’ll show about teleprompter app for cellphone and computer. This is totally dedicated to indicate a teleprompter app, that possibly can help you in your future plans.
In the first title “Teleprompter app” we are going to see how technology can be used in our favor because if there is technology available to make our lives more accessible, teleprompter apps are one of them.
Now talking about the teleprompter app for Android we have to understand that the amount of offers is reasonable, but with a little patience we might reach one that pleases us more. I leave here the topic “Teleprompter app for Android” with an indication and a tutorial with its functions.
Teleprompter app for iOS may seem basic but people can also have difficulty finding the “right” for their needs, of course, we must do the necessary tests with the apps that seem made for us, but trying to help I also let the indication of an app for the iPhone users on the “Teleprompter app for iOS” topic in this article.
Still talking about the iOS family, we will have the titles “Teleprompter App for iPad” and “Teleprompter app for Mac” for those who also need an indication for these devices. After all, each one has a preference, and possibly with different device features, it brings us different needs. These topics will have different indications of Apps for them.
To finish this article I bring the text “Teleprompter app for Windows” where I show a program where you can do everything online, and without the need to install a program, I hope you like this tip and also hope that all of you like the article and the methods. Thank you.
Learn more…
Teleprompter App
When looking for a Teleprompter app we are looking for something that until recently was a resource only used by journalists inside a TV studio. But with the Internet in our favor, we can make use of this resource to create our own video, whether journalistic and independent, for Youtube, or whatever we want.
It was invented to give the feeling that whoever is reading your script on the teleprompt doesn’t seem to be, because the reading is performed at the same time as looking at the camera, causing this “illusion”.
As technology allows us to do this from the screen on our device, whether it is a computer or a cell phone, and with the growth of people who produce videos with elaborate texts, where sometimes these same texts can last a few minutes, nothing as a resource to make the lives of those who produce this type of content more accessible.
And this is where the idea of bringing indications of these apps to users of different devices came in, and since we have these features available, let’s understand them and put into practice our video, as our best text, using the app that has more to do with us whatever if you need teleprompter app for iPhone, teleprompter app for Android or teleprompter app for PC.
Teleprompter App For Android
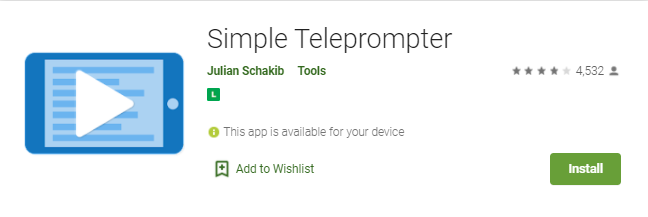
Let’s see the teleprompter app for Android we have here. The app is the “Simple Teleprompter”. Which tries to bring a lot of accessibility to the Android user. And thinking that I brought a step-by-step method for you to give the first step, Let’s go to work!
- Let’s start downloading the Simple Teleprompter app and opening it.
- The first screen is going to show a button written “Create New Document”, and when you save some text in the future a saved document in “txt” format will be shown on the same screen.
- If you want to import a document from a different format you have to convert it first.
- When you click on the “Create New Document” button will pop up a message asking if “would you like to import the text from a document”.
- Choose “No” to create a brand new text for your teleprompter.
- Choose a title.
- Write or paste the text on the indicated spot.
- When you finish setting your text, you’ll have two options below, “Save and Start” and “Settings”
- On the “Settings” button you’ll find some resources to personalize your text like “Mirror”, “Font”, “Font Size”, “Line Spacing”, “Countdown and “Scroll Speed”.
- When Choosing “Save and Start” your text will be shown on your screen as you edit.
The tip here is you can copy your text from a document and paste it into the text box.
Teleprompter App For iOS
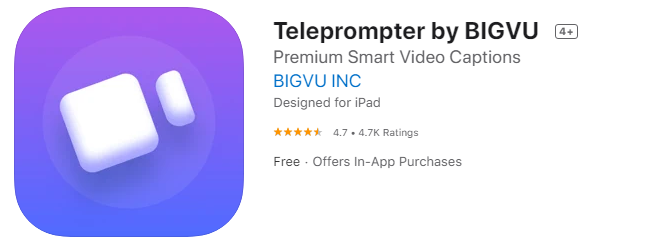
For the Teleprompter app for iOS users the app you’ll see here is the Teleprompter by BIGVU. It’s a app where you’ll be served with resources for your script second the Teleprompter by BIGVU second the usuaries. I hope you like it, now, have a look at the following tips:
- Install and open this App.
- On the first screen, you will see the “+” button, on the bottom of the screen, tap on it to start a new project.
- This action will bring you to a new screen with two options, “Teleprompter Script” and “Present Now Unscripted”.
- Click on the “Teleprompter Script” option.
- There, insert a title and a script in the indicated places.
- To go ahead click on the red camera icon, shown at the center low of the screen.
- In this part, you’ll be able to record your video with the script on the screen and a timer on the top right corner.
- You’ll see some tools at the bottom, they are “Resolution” quality definition of your video, “Auto Stop” to stop automatically when the script roll is over”, “Light” to lock auto exposure, “Font” for font size, and text position, “Speed” for the scroll speed of your text, and “Pause On Silent” to the scroll stop when you’re not speaking.
- After you record your first video, top recording taping on the red square on the low center of the screen.
- After that will be shown new options like “New Take” and “Delete” and
- “Trim”, “Crop”, “Captions” and “Share”.
The tip here is: explore all functions you can to get used to the app.
Teleprompter App For iPad
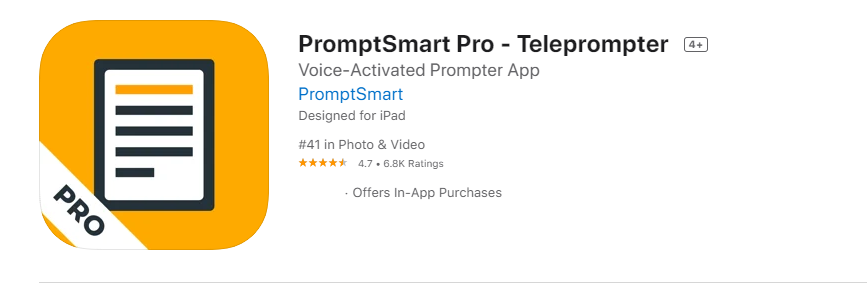
I decided on the subject “Teleprompter App for iPad” to bring a teleprompter pro app that has a good rate on the App Store. Although it is paidI hope you like it as a tip about the apps available for iPad. Follow the steps.
- After downloading and launching it the main screen will be opened.
- On the top left, you can see a “+” icon, tap on it, and it will open three options, “Bulk Import Script”, “Import Script” and “New Script”.
- Click on New Script” and write the title on the top of the screen.
- Type or paste your text on the script area and click “Done” in the top right corner.
- Your document will be automatically saved on the main screen.
- Click on it and then, press “Play” and your script you scroll for you read it while you record.
- Will be displayed on the bottom of the screen the “Pen”, “Trash”, (“Play” in the middle), “Settings”, and “Upload” icons.
The good differential here is the “voice recognition”, which shows the text intelligently while you’re reading.
Teleprompter App For Mac
I found this Teleprompter app for Mac called Prompt +Teleprompter. This app can be used with Zoom, Microsoft Teams, Google Meet, and many other video conferencing apps as well as Facebook Live second the developer, maybe it’s exactly what you’re looking for, so, let’s check the basics tips for you to start to produce your own video.
- Well, let’s start installing and opening this app.
- Then open it, but you will also need an app to record you, like “Zoom”.
- Create or import a script on the Prompt + app by clicking on the button “Script” in the bottom left corner. On the new screen, you click on the “+” button on the top right corner to open the options to create or import from your files or your cloud site service. (Paste your script from another document to create it easily)
- Once it’s done, give it a title, and edit with the buttons over the script for basic changes.
- Save it (button on the top right corner).
- On the next screen click on “Select”.
- Click “Play” and now you can start to practice your speech. Over the play button, there is a green line where you can drag left or right to control the speed of your text.
- “Direction” button for changing the direction of your text.
- “Script” button if you want to change it for another script.
- On the “Setting” button you will find a lot of useful controls like “Font Size”, “Text Area”, “Text Align”, “MIrror” “Colors”.
- Still, in the “Settings” area you can see a “Countdown” icon, where you can activate a countdown for your script before it starts rolling.
Teleprompter App For Windows
Here on the topic Teleprompter app for Windows, I will show a program that you won’t need to download or install anything. The Speakflow website brings the possibility to create content by the browser. I had a look and I think it is worth trying. Now it’s your time, see the following steps about the tools offered in this program.

- Here the first thing to do is subscribe yourself on Speakflow not being necessary to download an App.
- Once it is done on the first page there will be some tools.
- Below you’re gonna have the “Mode” button, where you can change to “Auto” or “Voice” mode. Choosing the Auto Mode you will program the speed of your text to read it and on the Voice mode, the text will scroll according to your voice.
- Button “ Alignment” you can change the text to the center or left side.
- Button “Size”, here you’ll be able to change the size of the text from x-small to huge size.
- The “MIcrophone” button, for you to choose the microphone.
- On the other hand, those buttons are more used for professional work, they are the “Mirror” (to flip it and use on the physical teleprompter) and the “Remote Mode” button to open the script from another device.
- On the top right there is the “Width” button (represented for double-headed arrow), where you can drag to the left or right to choose the size of the plan where your script is set.
- Now you can check how it is, click on the “Play” button on the bottom left corner, practice your speech and do the edition you still need, following these tips.