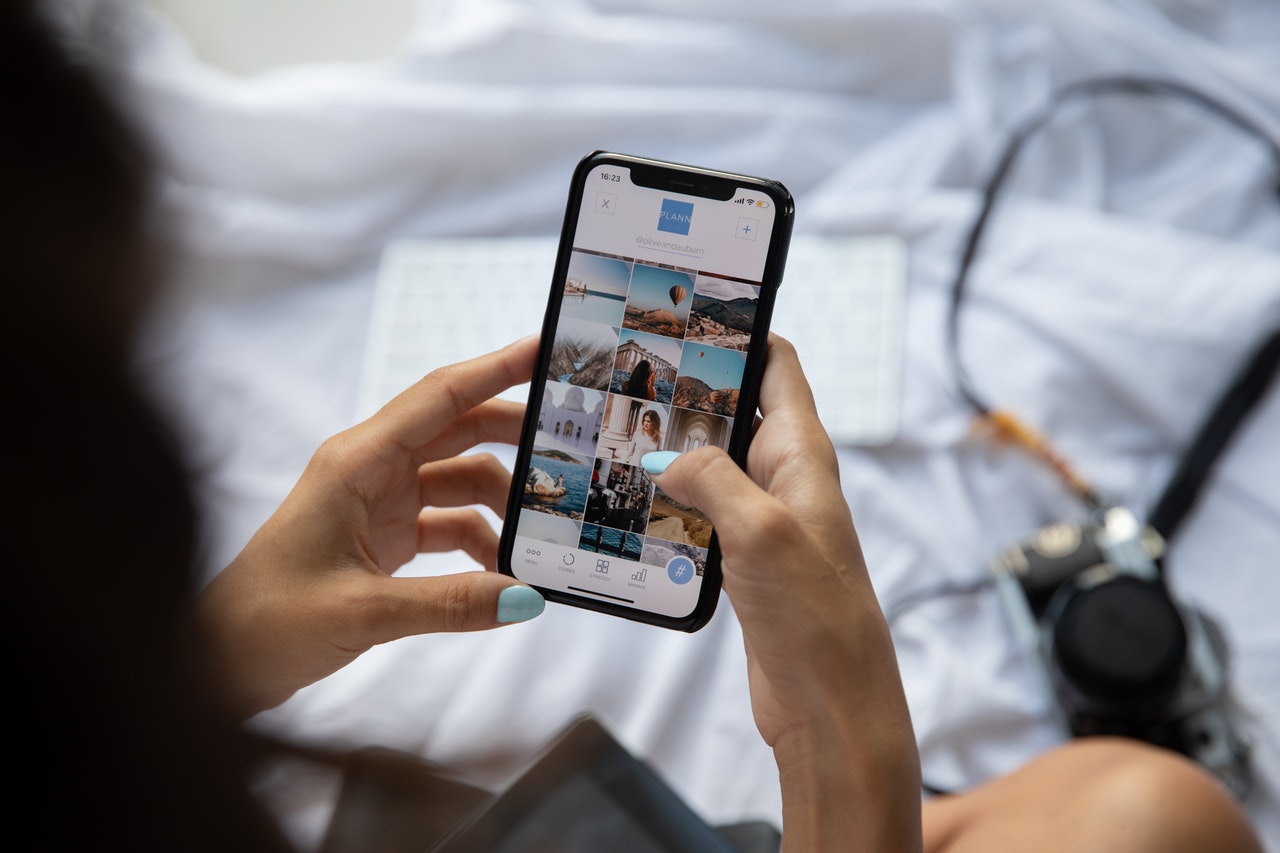
For anyone who is or wants to be an illustrator artist, we currently have a variety of tools for this purpose. It’s not new that some professionals are already migrating from paper to the screens of their favorite device to create.
Thinking exactly about that, I bring in this article an app’s indication for each device as you can follow in the next lines. The intention is to help you find an option based on a search of current rankings available on websites known for understanding about it.
Here you will find in the “Drawing apps” title an insight into the applications available today. Because sometimes it’s hard to choose something in the middle of so many options.
For Android users, I will show on the topic “Drawing apps for Android” a detailed tutorial about the features of an application that might bring editing possibilities.
Right after that, we will see in the title “Drawing Apps for iPhone” an application that many users indicate. According to their experiences and comments, it’s accessible and useful.
For the friends who are looking for Drawing apps for computer, I write about an application that according to the review is packed with tools. Due to the functionality that a computer can bring, new possibilities can be shown for those who are looking for editing resources.
In the “Drawing apps for iPad” those who have an iPad and never used a drawing app on it before, can be surprised with the app I bring here.
Learn more…
Drawing Apps
Let’s talk a little bit about Drawing apps. Technology has brought us new features in all areas? And surely the apps available for illustrators show us that.
Today, that user who decides to look for an application that fits his needs (whether for someone who is starting or is already a professional) can find a large number of available applications.
I honestly think this is great but it’s recommended to have some filter to help us make these choices. I hope this article helps you with that decision, research which layout has the most to do with your style, which interface you like the most before downloading, and produce things with these apps.
Drawing Apps For Android
Here on this topic “Drawing apps for Android” I brought an app to help you start to create your masterpiece. The name of this App is: ArtFlow Paint Draw Sketchbook it’s available for Android.
I have seen their functions and it looks like it is an accessible app, very interactive, where you possibly have an idea about what the icon’s function does just by looking at them. I hope you like this app and the step-by-step tutorial for a basic approach in this drawing apps for Android.
- The first step is to download the App and launch it.
- After that click on the little dot in the upper right corner of the screen.
- Then it will open the basic tools around the screen.
- Click on the “Menu tab” (three vertical lines at the top left), and select “New Image”.
- Clicking on the “Presets” option you can choose your canvas size (Hgh resolution is more recommended). Once it’s done. Press “Ok” and then the little dot again.
- The first icon from the top left of your screen is the “Brushes” option, where you can choose the pen, pencil, brush, Airbrush, or Stencil.
- The other in the sequence is the eraser
- If you want to Zoom your canvas,(In or Out) make the pinch movement with two fingers, with this movement you can also rotate the canvas.
- On the right frame, there is a circle icon (color wheel), where you can choose the color.
- Try to create a draw to get used to using the App.
- Over this color wheel, there are two squares overlayed it’s the “Layer” button, click on it and check the option inside it, like duplicate, effects and transform. The “+” signal locates on the top in the right frame permits you to create a new layer
- To save your creation, click on the “Menu tab” and then click on the “Save” option, with this action your creation will be saved in the App gallery.
- If you want it on your cell phone gallery click on “Export Image” and then click on “Gallery”.
Drawing Apps For iPhone
Here in the topic “Drawing Apps for iPhone” I will talk about Adobe Fresh: Draw & Paint app. It’s a tool for iPhone users according to tomsguide.com.
This app is free and has a very good rating and very convincing positive reviews on the App Store. I hope the following method helps you to bring inspiration for your next masterpiece.
Let’s start downloading the App on the App Store and then open it.
- At the top right of your screen will be “App Settings” for you to perform your interface, export, and time-lapse settings. On the side, you will see the “File Sync” icon (represented by a cloud) which is for syncing the files.
- At the bottom you will see the icons “Home”, “Your work which shows a list of all your documents, “Learn” with great tutorials for your iPhone” and “Discover” to follow and follow the professionals in the field.
- Over it, you can see a button with two resources. The first is the “Create New” represented by a “+” signal and by its side the “Import and Open” tool.
Once it is explained, click on the “Create New” button, choose your canvas size and let’s go! Now a new screen will be opened with several different tools I will explain to you.
- On the left toolbar, you gonna find elements to modify your creations, like “brushes”, “erasers”, ‘Smudge”. You’ll also find the “Transform” to change precisely and select your art. “Selection Tools”, “Paintbucket”, Eye dropper” for you pick some color from the canvas, “Import” to import images, “Color”, “Selection Tools”.
- On the top you will see the “Undo”, “Redo”, “Export” to save your document in the format which you prefer and the three little dots to access the “Settings”.
A tip is to study the “Touch Shortcut” in the “Settings” menu to learn how to save time doing the right movements with your fingers.
Drawing Apps For Computer
Now it’s time to talk about the Drawing apps for computer. In this topic, I’ll introduce a program that some specialists at techpout.com show great respect. I’m talking about the GIMP – Image Editor PRO for windows. This app comes with a large number of tools to explore and make great jobs. Check the method chosen especially for you, I hope you enjoy it.
Install and open this program. You’ll see five basic main sections as described below.
- On the main screen, you will come across some toolboxes. On the top center, you’ll find the main menu with the options “File”, “Edit”, “Select”, “View”, Image”, “Layer”, “Colors”, “Tools, “Filters”, “Windows” and “Help (explore well the Colors and Filters).
- The Layers’ tools will be on the top right side, with the “Layers”, “Channels”, “Paths” and “Undo” buttons. It is here that your Layers will be shown.
- Below that, the panel will display the “Brushes”, Patterns” and “Gradient” items.
- On the top left, the tools to edit and customize your drawing that basically will be separated by “Select tools”, Paint tools”, “transform tools” and “Others”.
- On the left below you have the tool option that contains the settings of the tools you have selected.
Now that you have an idea about where the principal items are, let’s start to make art.
- The first step is to click on “File”
- To create a new composition, click on the ”New” option.
- Choose the size of your new project and click on the “Ok” button.
- The white screen you show up.
- If you want to resize, you can drag with your mouse on the right low corner of the layer.
- If you want to import any images from your computer, click on “File”, then “Open.
- Yo save your production, click on “File”, and then “Save” or “Save as”.
A good tip here is if you want to find something quickly, you can type “/” (forward slash) and a search feature where you can type what are you looking for will show up for you to make your edition with more agility.
Drawing Apps For iPad
To the reader that uses iPad, I bring here in the topic “Drawing apps for iPad” an App called Vectornator: Design Software on the App Store.
Below you will see a tip about how to start to create your new product, with the most important and basic tool for you to operate. After a time using it you can explore the features available. Let’s make the first movements, follow the steps.
- We’ll start by opening the application and you’ll already see the options “Gallery”, News” and “Settings” on the left sidebar.
- In the “Settings” section you will be able to know the current version, access available sources, subscribe to the newsletter, access the main social networks, and also access your preferences.
- Click on the “Gallery” option and at the top right will be the “Select” and “+” option.
- Click on “New Document” to start your artwork (here in this option you will also find the “Import” option to bring some documents from your device).
- Choose your canvas size and template.
- With the pinch movement, you can zoom in and out, and rotate your template.
- In the bar on the left will be shown some basic icons, so you can select, choose your pen, pencil, or brush, cut and erase your drawings.
- The bar shown at the top right will have the options “Style”, “Arrange”, Path, and “Layer” to use initially.
- On the top left, you can find the option “Export” where you can choose the extension, and where you want to send it.